Hello, Wig Lovers!
There's something incredibly liberating about stepping into the world with a brand new hairstyle that perfectly mirrors your personality. Lace front wigs are gaining popularity due to their natural-looking features and versatility, but the application process can be quite daunting, especially for beginners.
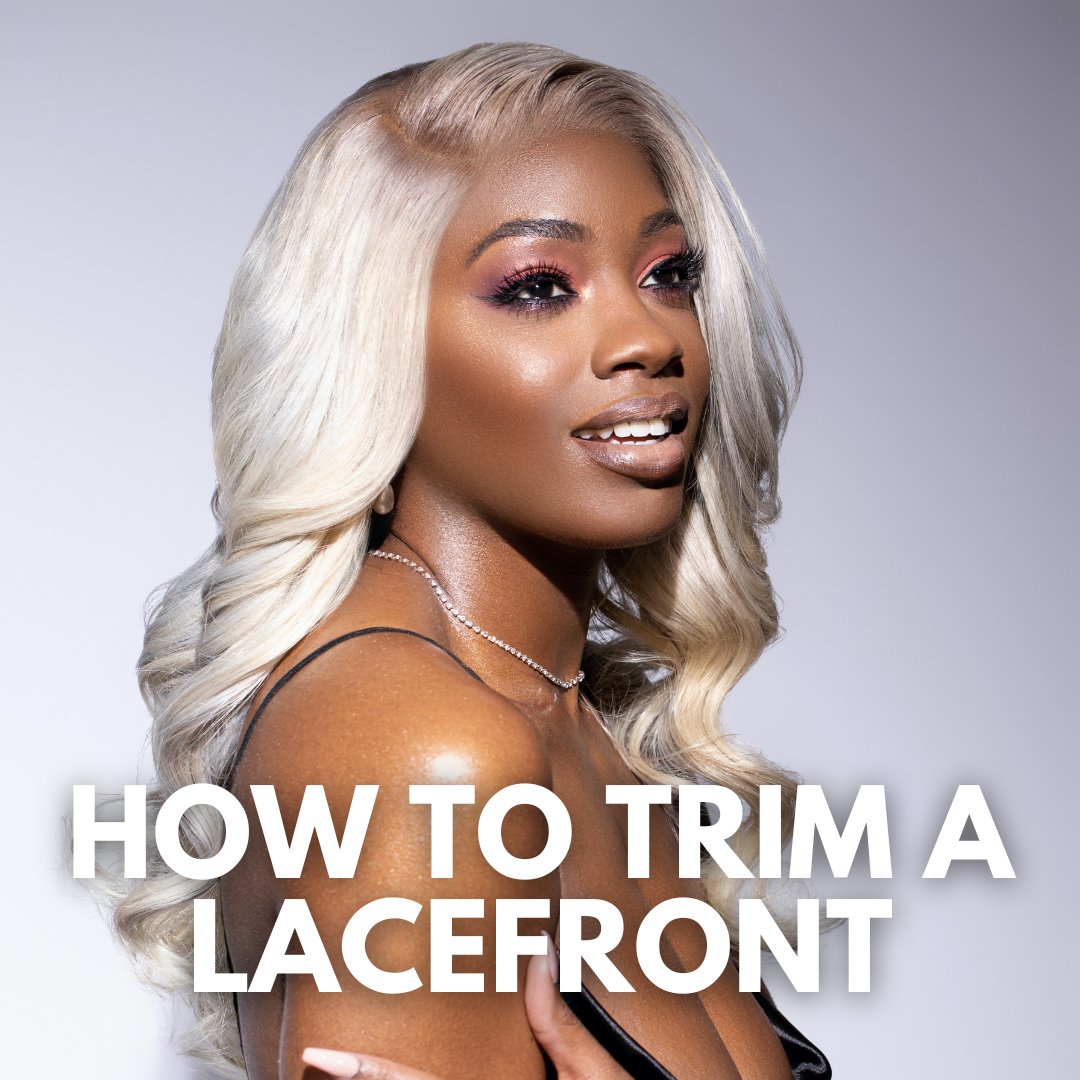
Fear not! Today, I'm sharing a comprehensive, step-by-step guide to trimming your lace front wig. Together, we'll make the process less intimidating and more enjoyable.
Before we dive in, remember: everyone learns at their own pace, and it's okay to make mistakes. You're embarking on a journey to mastering a new skill, and I'm right here with you.
Tools You'll Need
Step 1: Prepare Your Wig
First, secure your wig onto the wig stand. Ensure it's placed correctly and neatly as it should sit on your head. This is a crucial step, as it will help you accurately trim the lace to match your hairline.
Step 2: Identify Your Natural Hairline
Before you start trimming, you need to identify your natural hairline. This will be your guide to achieving a realistic look. You can use a regular soft makeup pencil to outline your hairline on the lace. Don't worry; the pencil line will guide your scissors and can be easily cleaned off later.
Step 3: Start Cutting
This step is crucial, so take a deep breath, relax your hands, and go for it. Using your sharp scissors, start trimming the lace along the marked line. Keep the cuts as clean as possible to avoid fraying. If the lace is long, consider cutting it in sections for better control. Don't rush; take your time to ensure you're following your natural hairline.
Step 4: Tweeze the Hairline
If you want a more natural look, you can tweak the wig's hairline by plucking out a few hairs. With your tweezers, gently pluck the hairs along the hairline, creating an uneven edge. Be careful not to overpluck. The goal is to achieve a 'gradient' effect, not bald spots.
Step 5: Clean and Apply the Wig
Finally, remove any pencil marks from the lace with a little rubbing alcohol. Then, it's time to apply your wig. Put a thin layer of the wig adhesive around your hairline. Wait until it becomes tacky, then carefully align the wig with your natural hairline and press down. Ensure the wig is secure, but comfortable.
Congratulations! You've just trimmed your lace front wig. As you get more comfortable with the process, you'll find your unique rhythm and style, but remember, practice makes perfect.
I hope this guide demystifies the lace-trimming process. Keep in mind that it's entirely normal to feel a bit nervous the first time you try something new. But with patience and persistence, you'll soon be styling and rocking your lace front wigs with confidence and flair.
So, go ahead, try it out, and embrace the power of transformation that comes with your beautiful lace front wigs. You've got this, and remember, you're not alone in this journey.
Stay beautiful, stay confident, and remember to enjoy the process as much as the outcome. I'm cheering you on, every snip, trim, and style of the way!
Until next time :)
Mermaid Kisses is full of pretty pastel colors of pink, yellow & green and Leighton’s style really shows them off! For me, this one looks best when wearing pastel colors - nothing too neutral or too bold.
I like the light bangs/fringe and long past your shoulders length. The density is perfect for this length, as well. There is some permatease on top, but nothing that creates too much pouf. This one fits my smaller head pretty well. I only need to cinch the adjusters at the nape. Leighton in Mermaid Kisses is a delight to wear!
I'm often uncomfortable in wigs and a topper is a great alternative. The clips in Heather's toppers are many and small, eliminating the pulling you get in most toppers.
This is a gorgeous style, perfect for someone like me who has hair, but not much. I can incorporate what I've got and feel pretty AND comfortable. I'm working on ideas for styling her, but she looks pretty amazing as is.
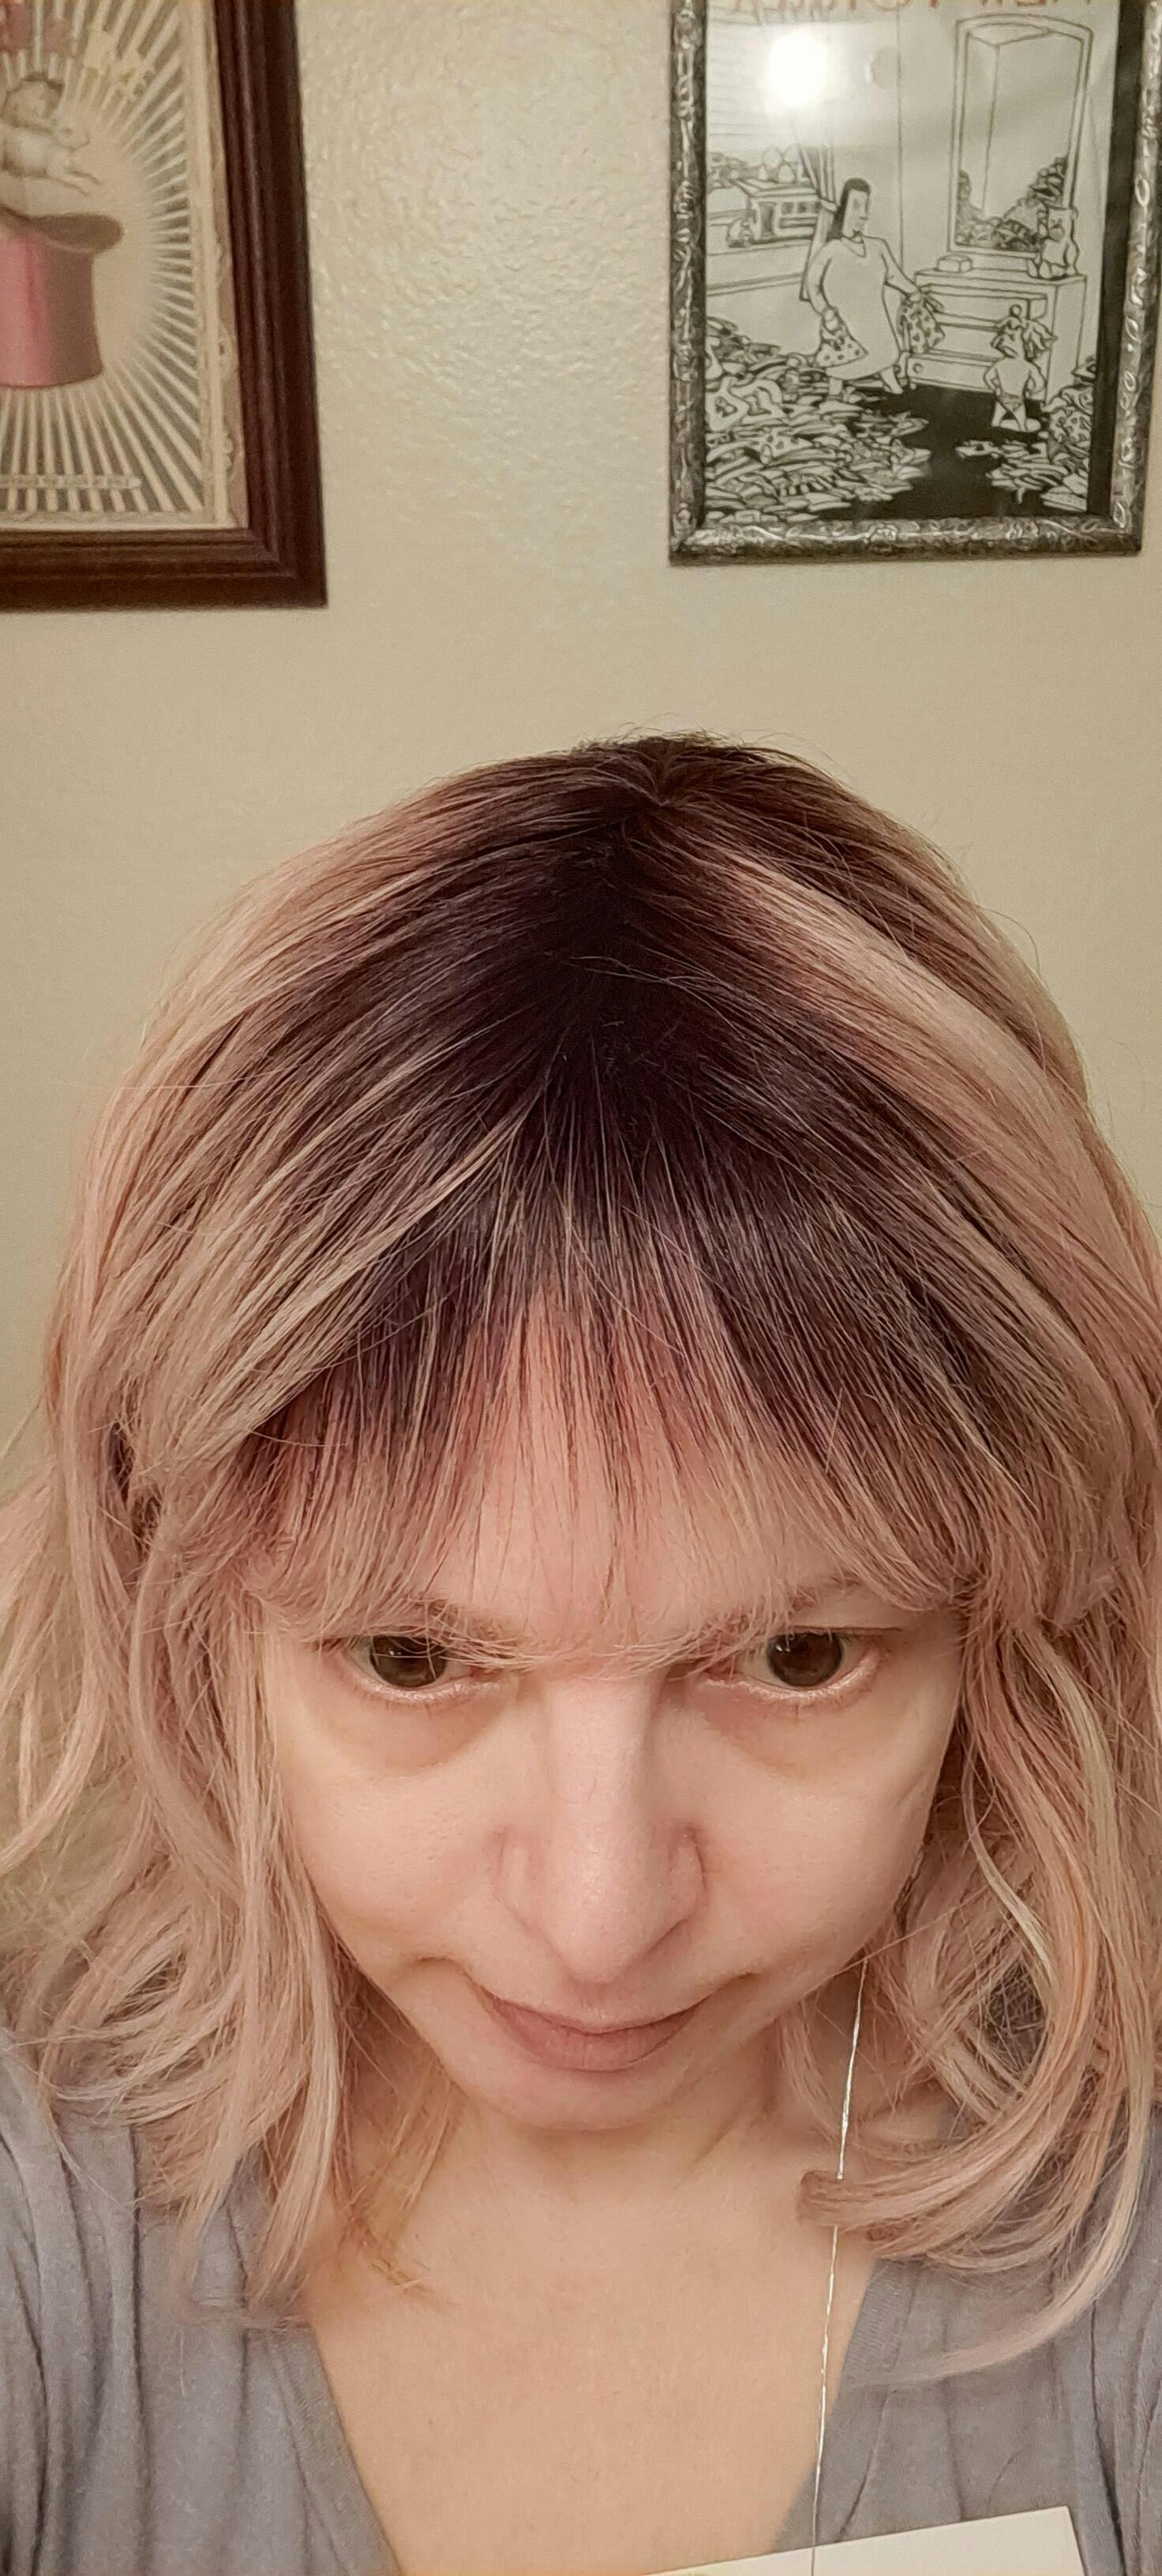
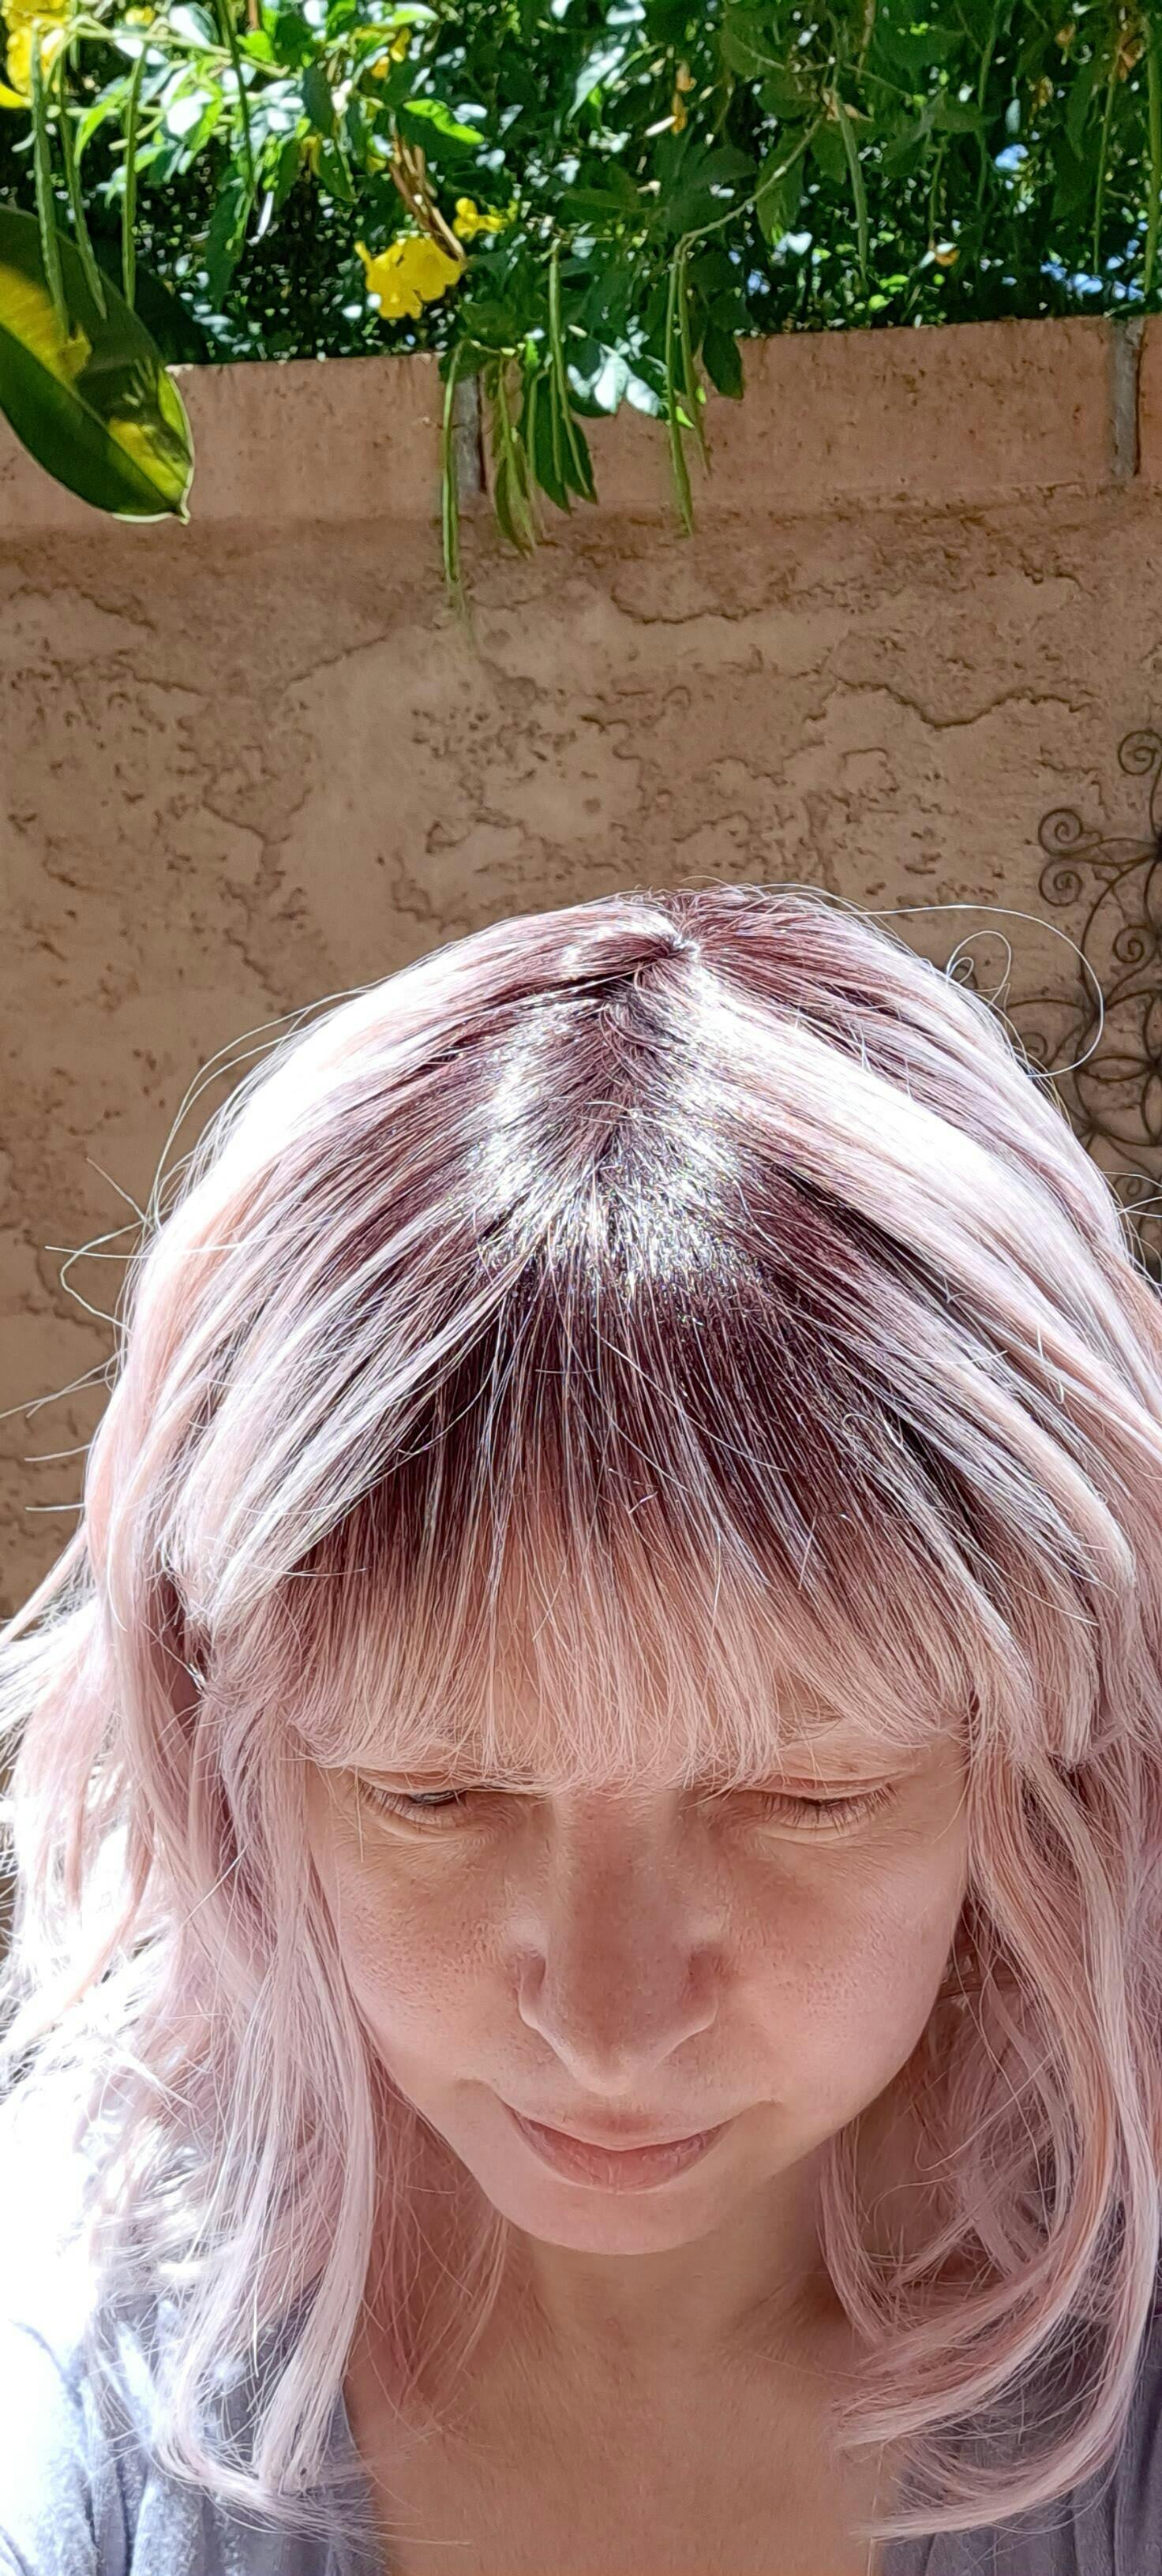
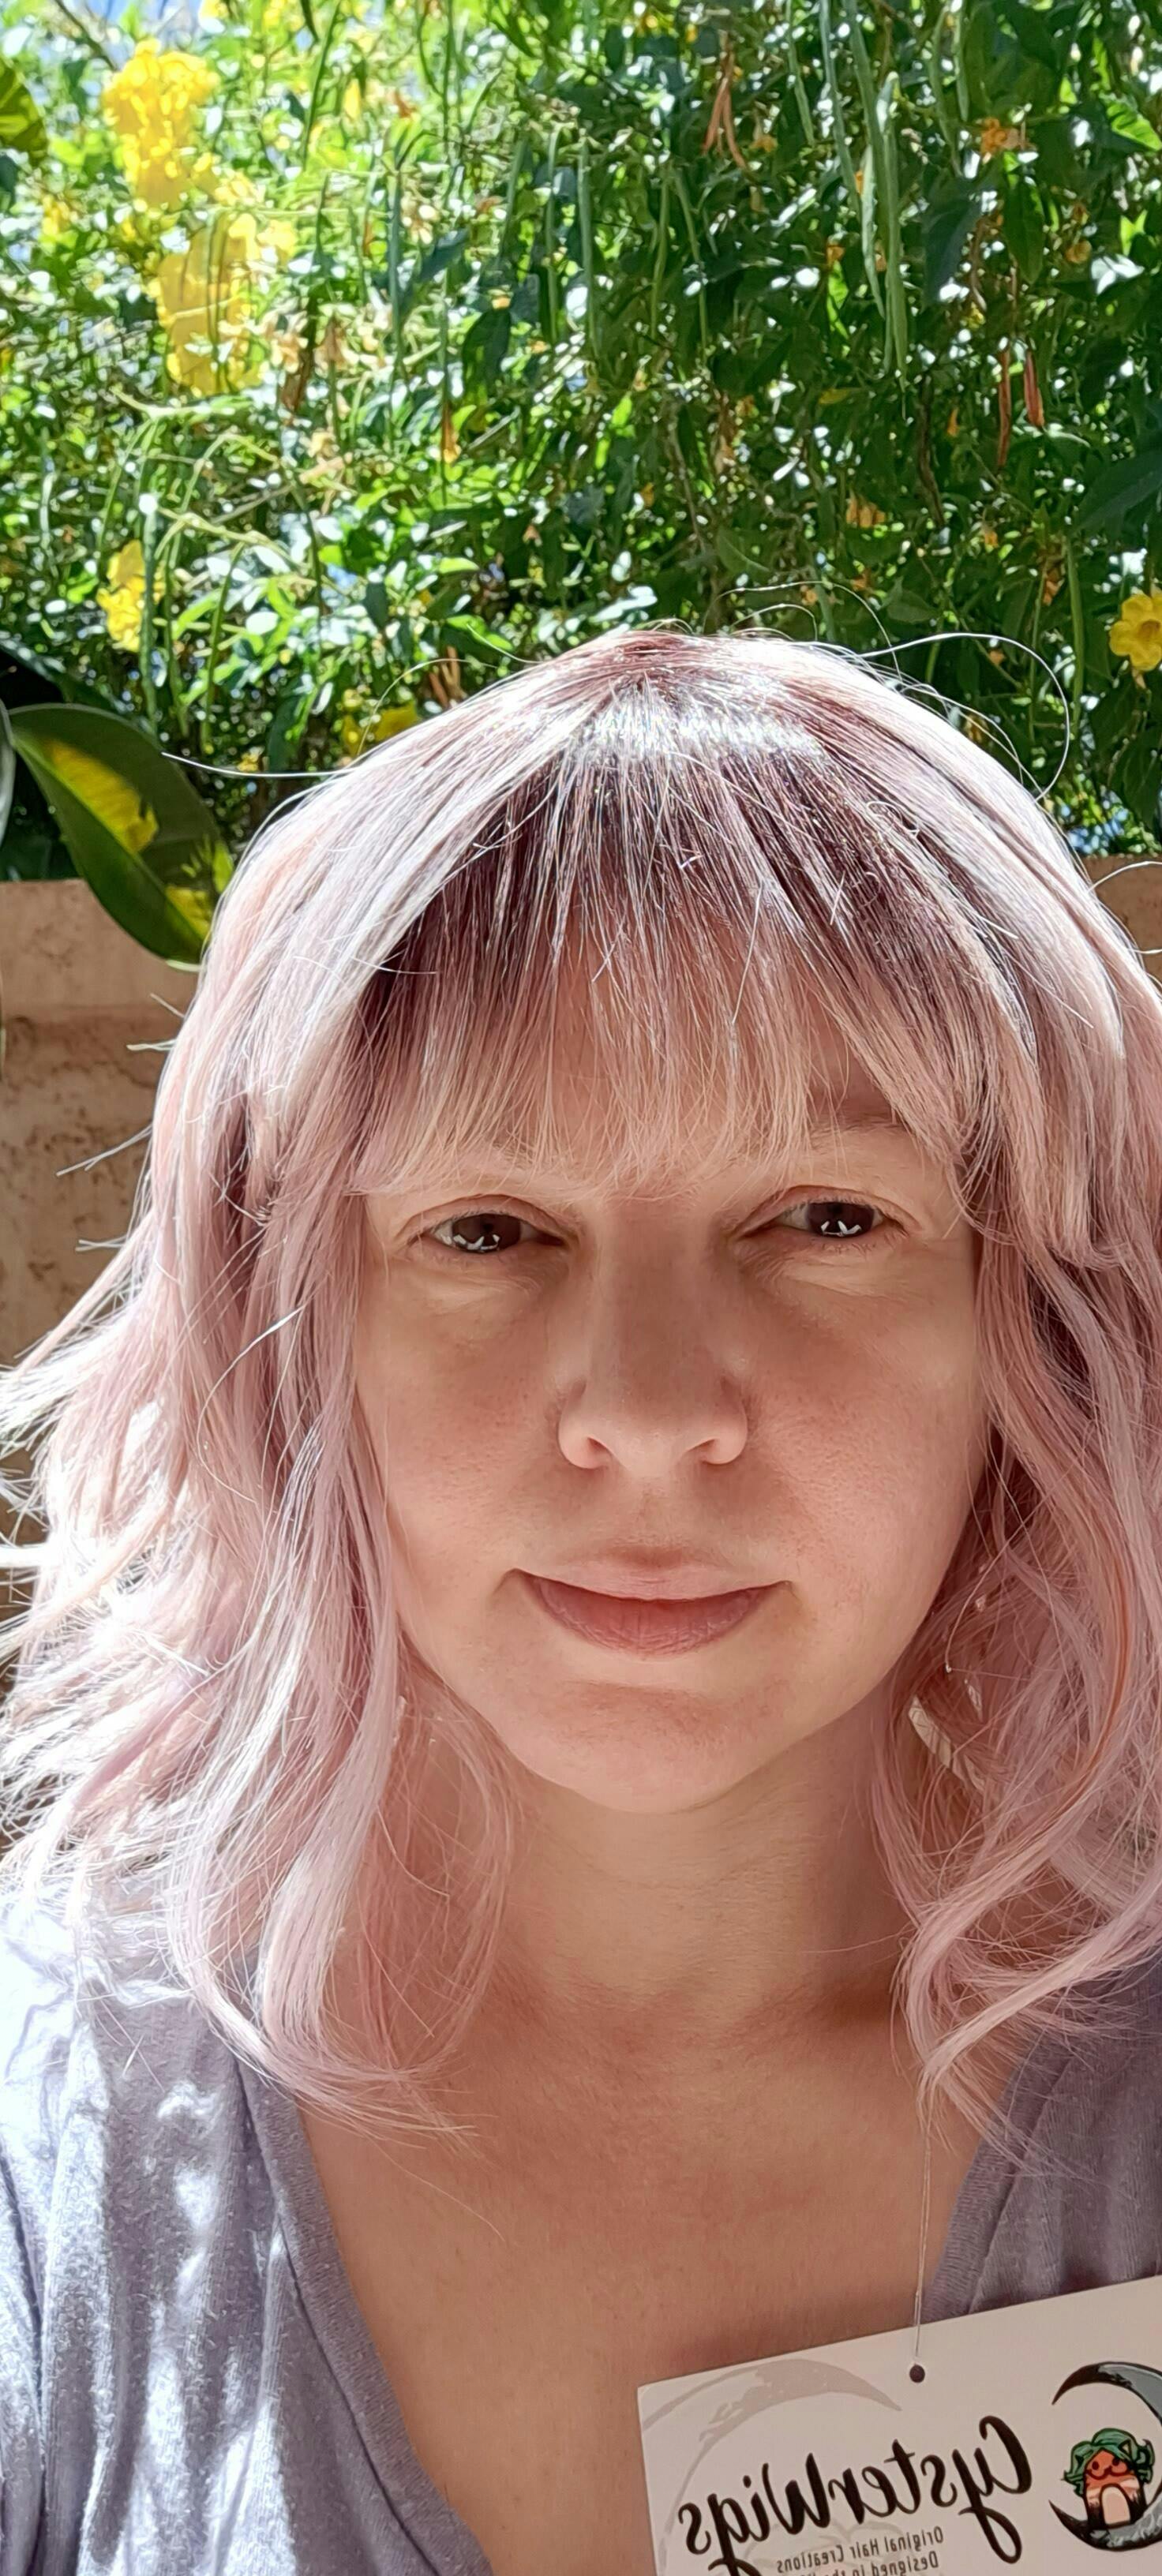
Ambrose is a very wearable style with fine, soft hair fibers. The color Rose Blush is absolutely beautiful, and the rooting adds dimension and realism.
I've attached pictures in indoor and outdoor light with no makeup to show how natural the fibers are and the color.
I love the style and the color of this wig. I wish it was not heat friendly. I just don't get any longevity with HF fibers. I could almost give it a perfect 5 stars, however, the length on each side differs by at least 2 inches. I know it is shorter in the back than the front purposely, but I don't believe it is suposed to be asymmetrical on the sides. I do really enjoy though that it was made to be shorter in the back because heat friendly fibers tend to get so ratty in back due to friction on neck and back.
You definitely can’t go wrong with Leighton in Cocoa Swirl Rooted. If you like a nicely rooted wig, she’s got it! If you like Permatease, she’s got it! If you like a nice longer length, she’s got it! If you like a luscious medium brown color, she’s got it! This wig checks all the boxes. And, it’s available at such an affordable price!